Wednesday, July 27, 2011

Wet Felt Process continues...


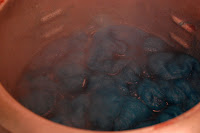
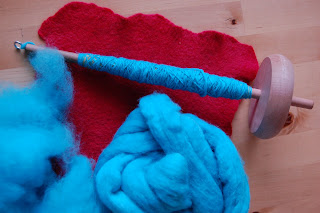
There are several steps involved in the creation of felt using the wet felt technique, here you can see a few more pictures that correspond to the description in my previous post.
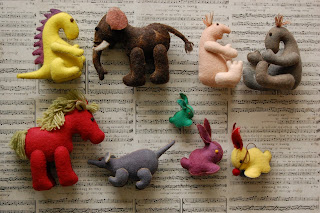
This sequence of pictures shows the step by step creation of a felt toy, starting with virgin merino wool to finally obtain a full of life finished toy.

Wet Felt Process


To transform a handful of virgin wool into a finished felt toy is a process always magical and very playful.
I part mainly from white merino wool, use acid dyes to color it and blend the fibers with natural shades of browns and beige, using llama and alpaca on occasions to add a fuzzy touch. The wet felting process will wash away any dye residue that might be left in the wool, and provide with a very strong and easy to shape material, during the felting process is the moment when colors and textures are added, to make each piece look very particular and unique on its own way. Once the piece have been finished, dry and pressed, it's ready to be cut and that also involves fun and creativity, since each toy will contain sometimes pieces of different colors felt and will always result on a one of a kind piece. When hair is needed I spin the yarn and slightly felt it to prevent it from falling apart, and the eyes are individual round pieces of felt in most of my toys, made especially for each of them. I use cotton thread for the hand stitching and for the filling I recycle a hundred percent wool from carefully selected and washed sweaters. It is very important to me that the finished product is entirely natural, a vibrant creature that will not harm our precious planet Earth in any way.
Also the work of human hands combined with natural materials and tons of love make the toys alive and loving. It also make me very happy to share my work with other people and add a little warm touch and a smile to their lives.